| 导读 | Redis 是内存式数据库,存储在磁盘。支持的数据类型很多:Strings, Lists, Sets, Sorted Sets, Hashes, HyperLogLogs, Bitmaps 等。 |
下载安装包 redis-x.x.x.tar.gz
tar zxvf redis-2.8.17.tar.gz
cd redis-x.x.x/
make
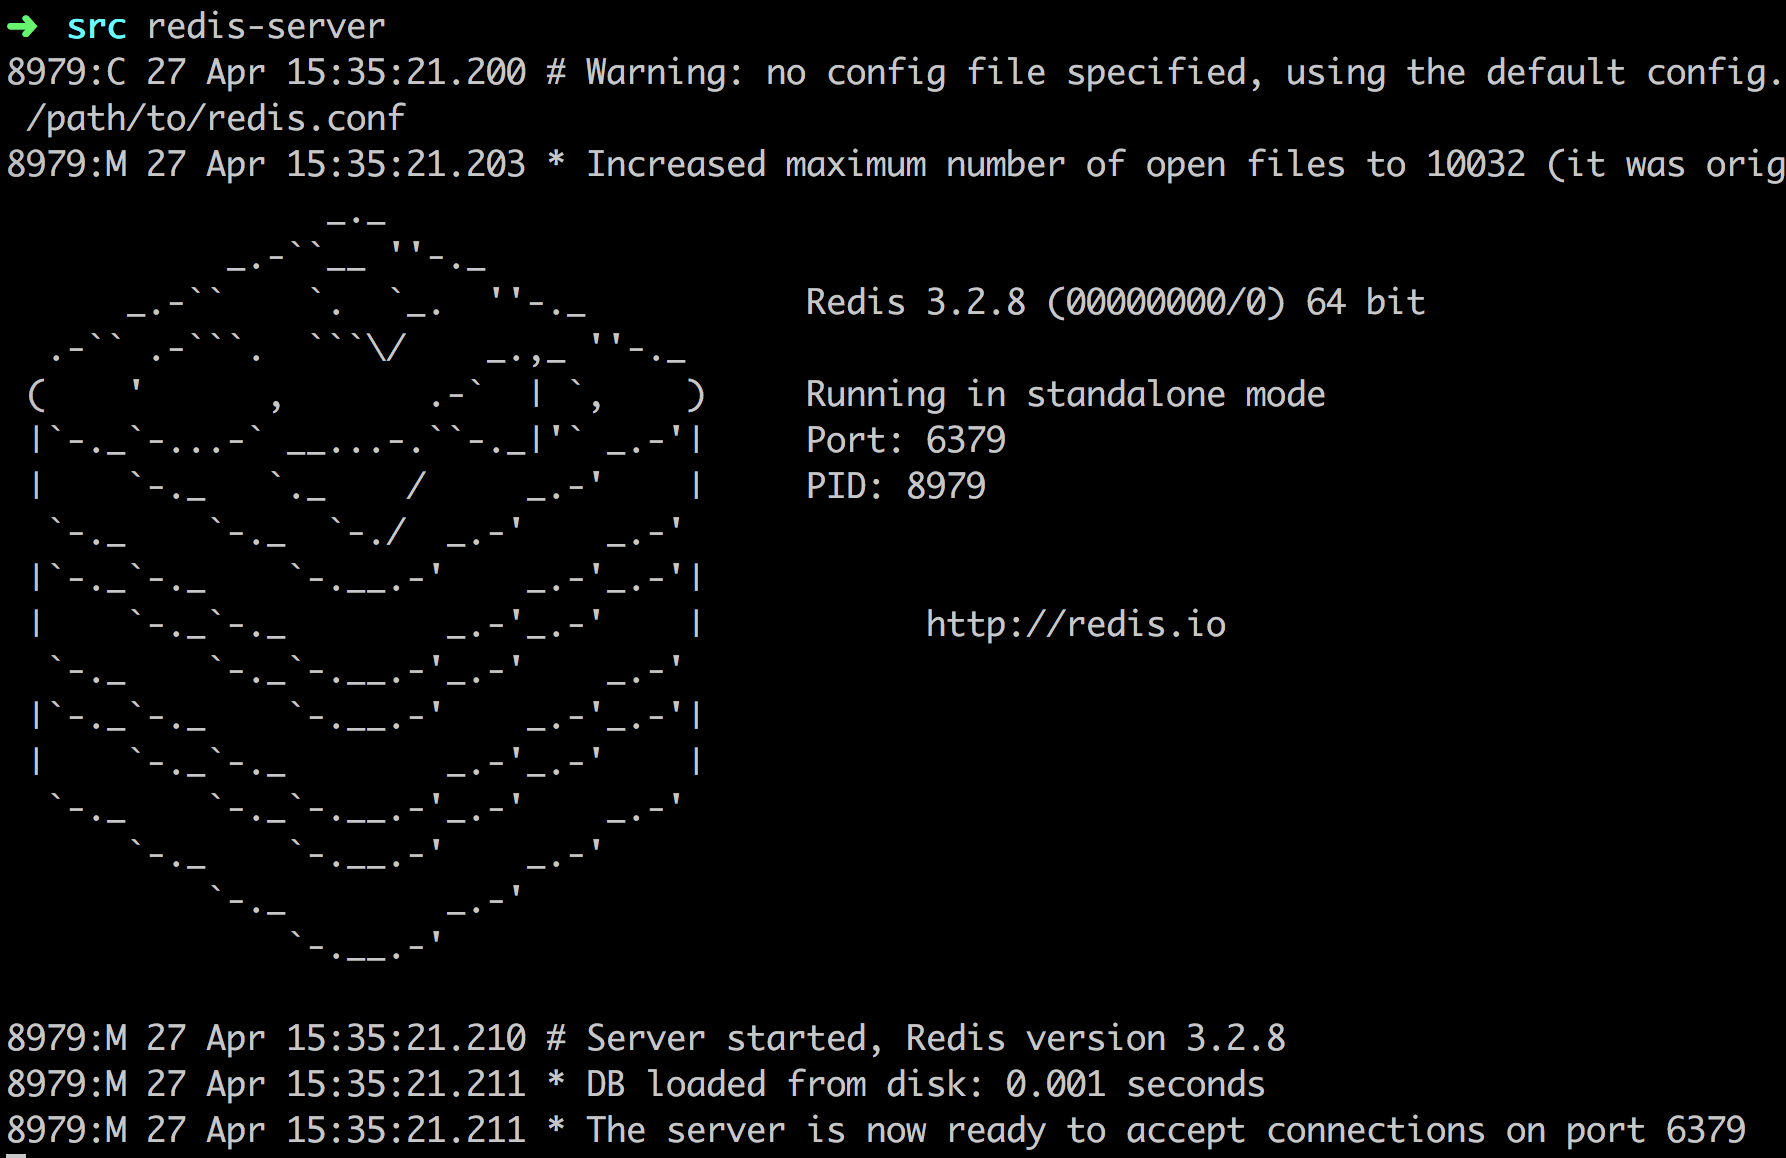
cd src
redis-server
如果需要运行在守护进程,设置 daemonize 从 no 修改成 yes,并指定运行:redis-server redis.conf
类似上面讲的工程搭建,新建一个工程编写此案例。工程如图:
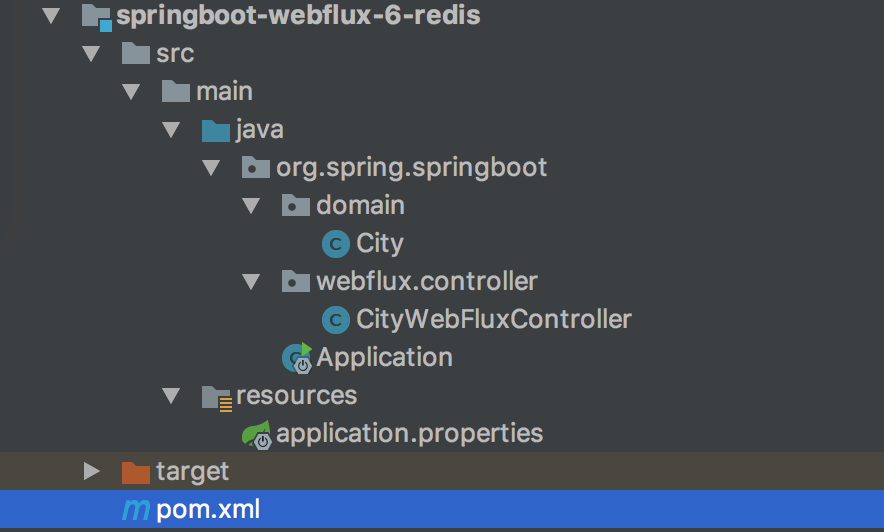
目录核心如下
pom.xml maven 配置
application.properties 配置文件
domain 实体类
controller 控制层,本文要点
新增 POM 依赖与配置
在 pom.xml 配置新的依赖:
org.springframework.boot
spring-boot-starter-data-redis-reactive
类似 MongoDB 配置,在 application.properties 配置连接 Redis :
## Redis 配置
## Redis服务器地址

spring.redis.host=127.0.0.1

## Redis服务器连接端口

spring.redis.port=6379

## Redis服务器连接密码(默认为空)

spring.redis.password=

# 连接超时时间(毫秒)
spring.redis.timeout=5000
默认 密码为空,这里注意的是连接超时时间不能太少或者为 0 ,不然会引起异常 RedisCommandTimeoutException: Command timed out。
修改 org.spring.springboot.domain 包里面的城市实体对象类。城市(City)对象 City,代码如下:
import org.springframework.data.annotation.Id;

import java.io.Serializable;

/**
* 城市实体类
*
*/
public class City implements Serializable {

private static final long serialVersionUID = -2081742442561524068L;

/**
* 城市编号
*/
@Id
private Long id;

/**
* 省份编号
*/
private Long provinceId;

/**
* 城市名称
*/
private String cityName;

/**
* 描述
*/
private String description;

public Long getId() {
return id;
}

public void setId(Long id) {
this.id = id;
}

public Long getProvinceId() {
return provinceId;
}

public void setProvinceId(Long provinceId) {
this.provinceId = provinceId;
}

public String getCityName() {
return cityName;
}

public void setCityName(String cityName) {
this.cityName = cityName;
}

public String getDescription() {
return description;
}

public void setDescription(String description) {
this.description = description;
}
}
值得注意点:
@Id 注解标记对应库表的主键或者唯一标识符。因为这个是我们的 DO ,数据访问对象一一映射到数据存储。
City 必须实现序列化,因为需要将对象序列化后存储到 Redis。如果没实现 Serializable ,会引出异常:java.lang.IllegalArgumentException: DefaultSerializer requires a Serializable payload but received an object of type
如果不是用默认的序列化,需要自定义序列化实现,只要实现 RedisSerializer 接口去实现即可,然后在使用 RedisTemplate.setValueSerializer 方法去设置你实现的序列化实现。支持 JSON、XML 等。
代码如下:
import org.spring.springboot.domain.City;
import org.springframework.beans.factory.annotation.Autowired;
import org.springframework.data.redis.core.RedisTemplate;
import org.springframework.data.redis.core.ValueOperations;
import org.springframework.web.bind.annotation.*;
import reactor.core.publisher.Mono;

import java.util.concurrent.TimeUnit;

@RestController
@RequestMapping(value = "/city")
public class CityWebFluxController {

@Autowired
private RedisTemplate redisTemplate;

@GetMapping(value = "/{id}")
public Mono findCityById(@PathVariable("id") Long id) {
String key = "city_" + id;
ValueOperations<String, City> operations = redisTemplate.opsForValue();
boolean hasKey = redisTemplate.hasKey(key);
City city = operations.get(key);

if (!hasKey) {
return Mono.create(monoSink -> monoSink.success(null));
}
return Mono.create(monoSink -> monoSink.success(city));
}

@PostMapping()
public Mono saveCity(@RequestBody City city) {
String key = "city_" + city.getId();
ValueOperations<String, City> operations = redisTemplate.opsForValue();
operations.set(key, city, 60, TimeUnit.SECONDS);

return Mono.create(monoSink -> monoSink.success(city));
}

@DeleteMapping(value = "/{id}")
public Mono deleteCity(@PathVariable("id") Long id) {
String key = "city_" + id;
boolean hasKey = redisTemplate.hasKey(key);
if (hasKey) {
redisTemplate.delete(key);
}
return Mono.create(monoSink -> monoSink.success(id));
}
}
使用 @Autowired 注入 RedisTemplate 对象。这个对象和 Spring 的 JdbcTemplate 功能十分相似,RedisTemplate 封装了 RedisConnection,具有连接管理、序列化和各个操作等。还有针对 String 的支持对象 StringRedisTemplate。
删除 Redis 某对象,直接通过 key 值调用 delete(key)。
Redis 操作视图接口类用的是 ValueOperations,对应的是 Redis String/Value 操作。get 是获取数据;set 是插入数据,可以设置失效时间。这里设置的失效时间是 60 s。
还有其他的操作视图,ListOperations、SetOperations、ZSetOperations 和 HashOperations 。
一个操作 Redis 工程就开发完毕了,下面运行工程验证下。使用 IDEA 右侧工具栏,点击 Maven Project Tab ,点击使用下 Maven 插件的 install 命令。或者使用命令行的形式,在工程根目录下,执行 Maven 清理和安装工程的指令:
cd springboot-webflux-6-redis
mvn clean install

在控制台中看到成功的输出:

... 省略
[INFO] ------------------------------------------------------------------------
[INFO] BUILD SUCCESS
[INFO] ------------------------------------------------------------------------
[INFO] Total time: 01:30 min
[INFO] Finished at: 2018-10-15T10:00:54+08:00
[INFO] Final Memory: 31M/174M
[INFO] ------------------------------------------------------------------------
在 IDEA 中执行 Application 类启动,任意正常模式或者 Debug 模式。可以在控制台看到成功运行的输出:

... 省略
2018-04-10 08:43:39.932 INFO 2052 --- [ctor-http-nio-1] r.ipc.netty.tcp.BlockingNettyContext : Started HttpServer on /0:0:0:0:0:0:0:0:8080
2018-04-10 08:43:39.935 INFO 2052 --- [ main] o.s.b.web.embedded.netty.NettyWebServer : Netty started on port(s): 8080
2018-04-10 08:43:39.960 INFO 2052 --- [ main] org.spring.springboot.Application : Started Application in 6.547 seconds (JVM running for 9.851)
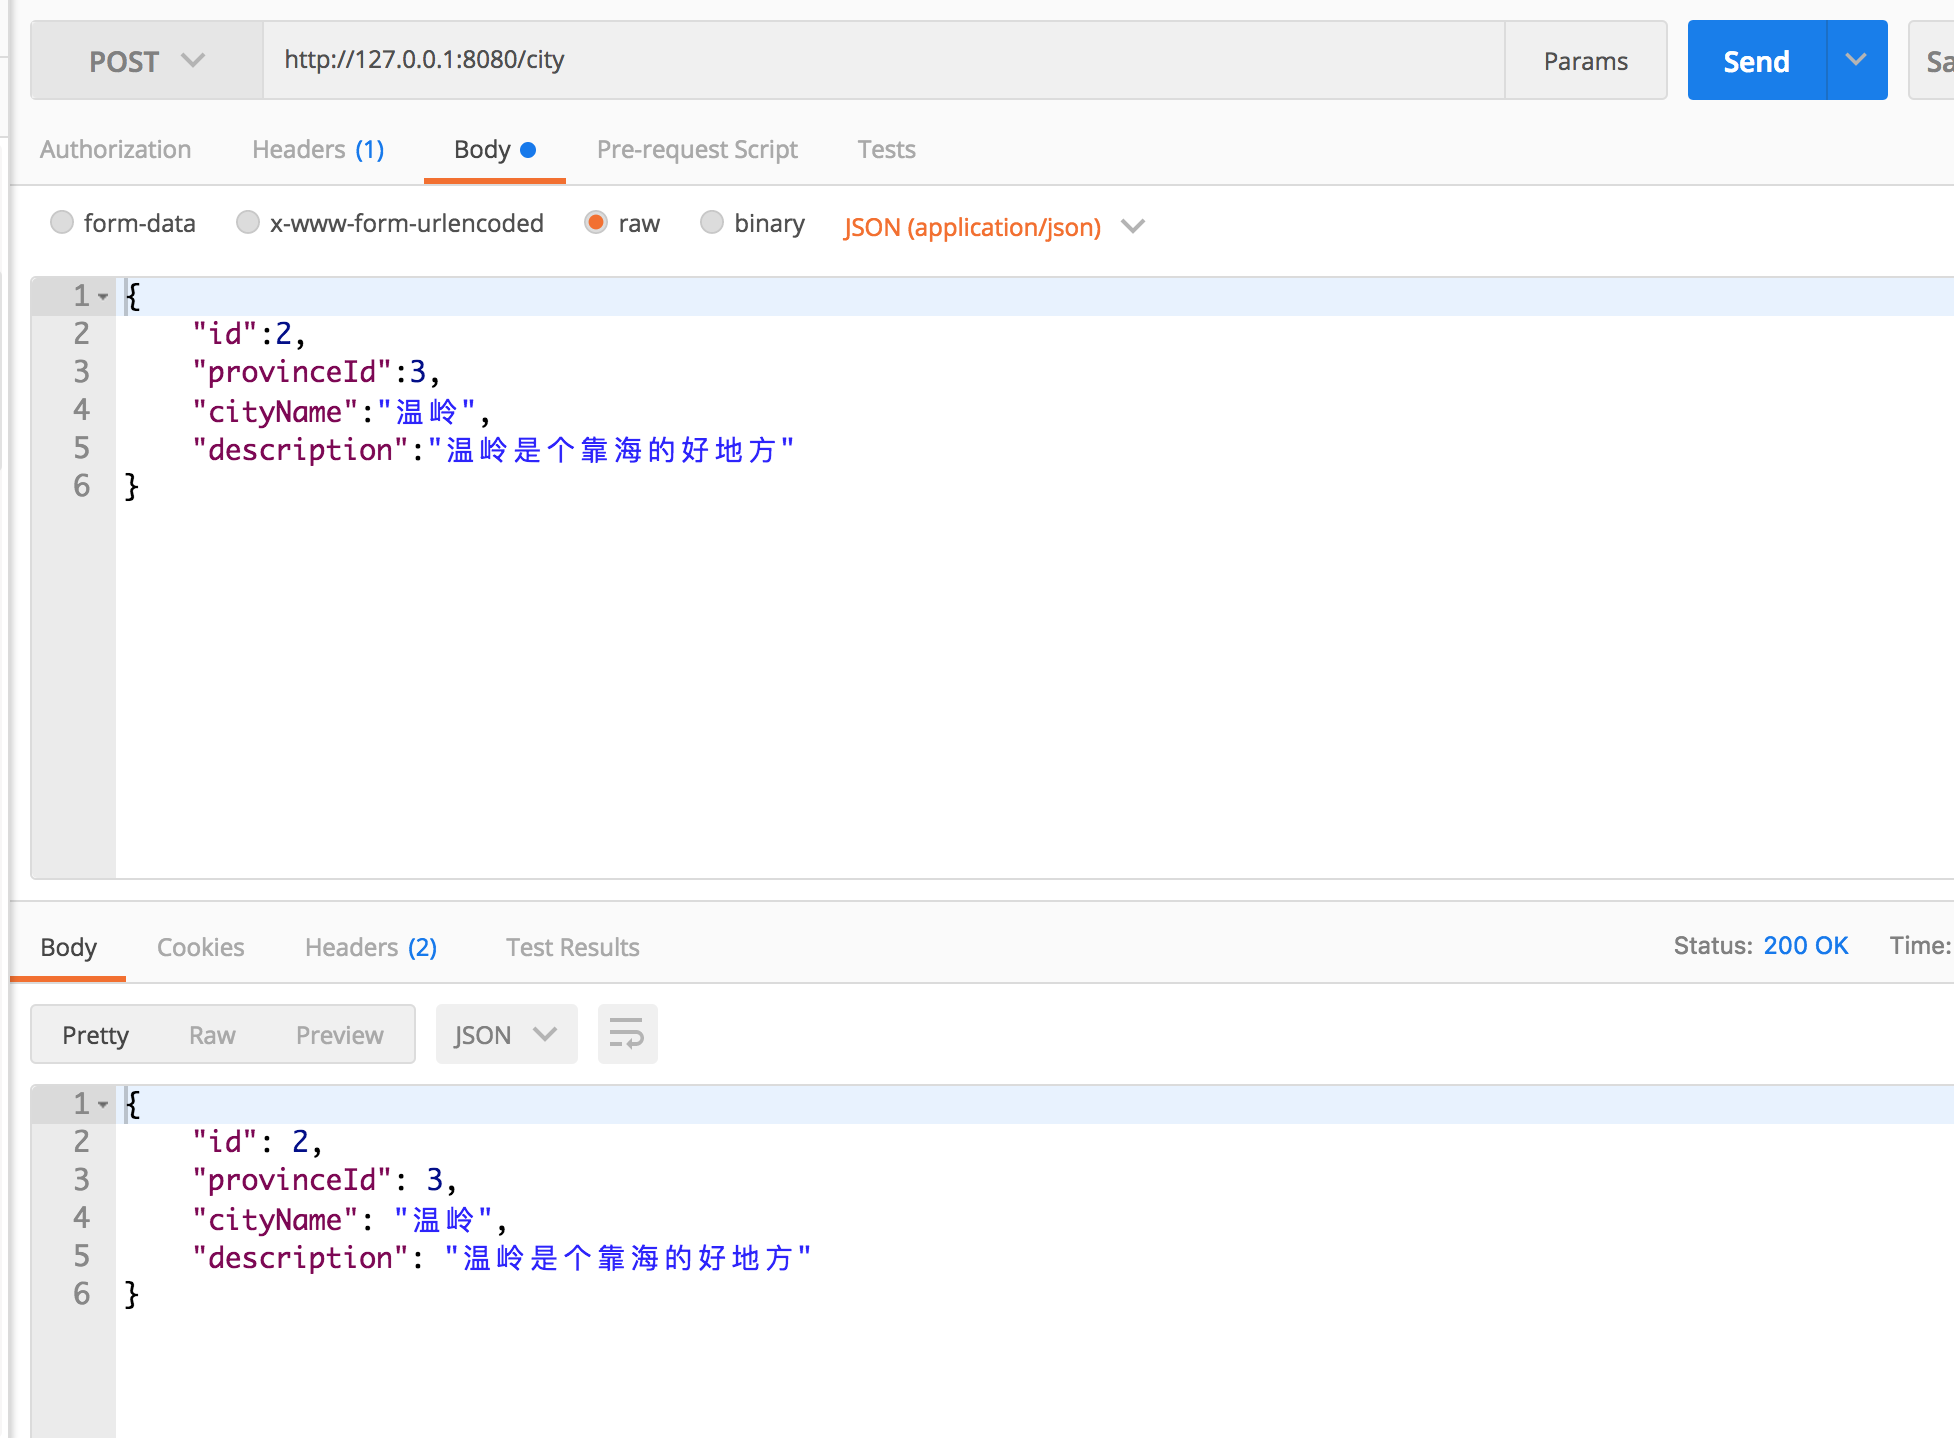
打开 POST MAN 工具,开发必备。进行下面操作:
新增城市信息 POST http://127.0.0.1:8080/city
获取城市信息 GET http://127.0.0.1:8080/city/2
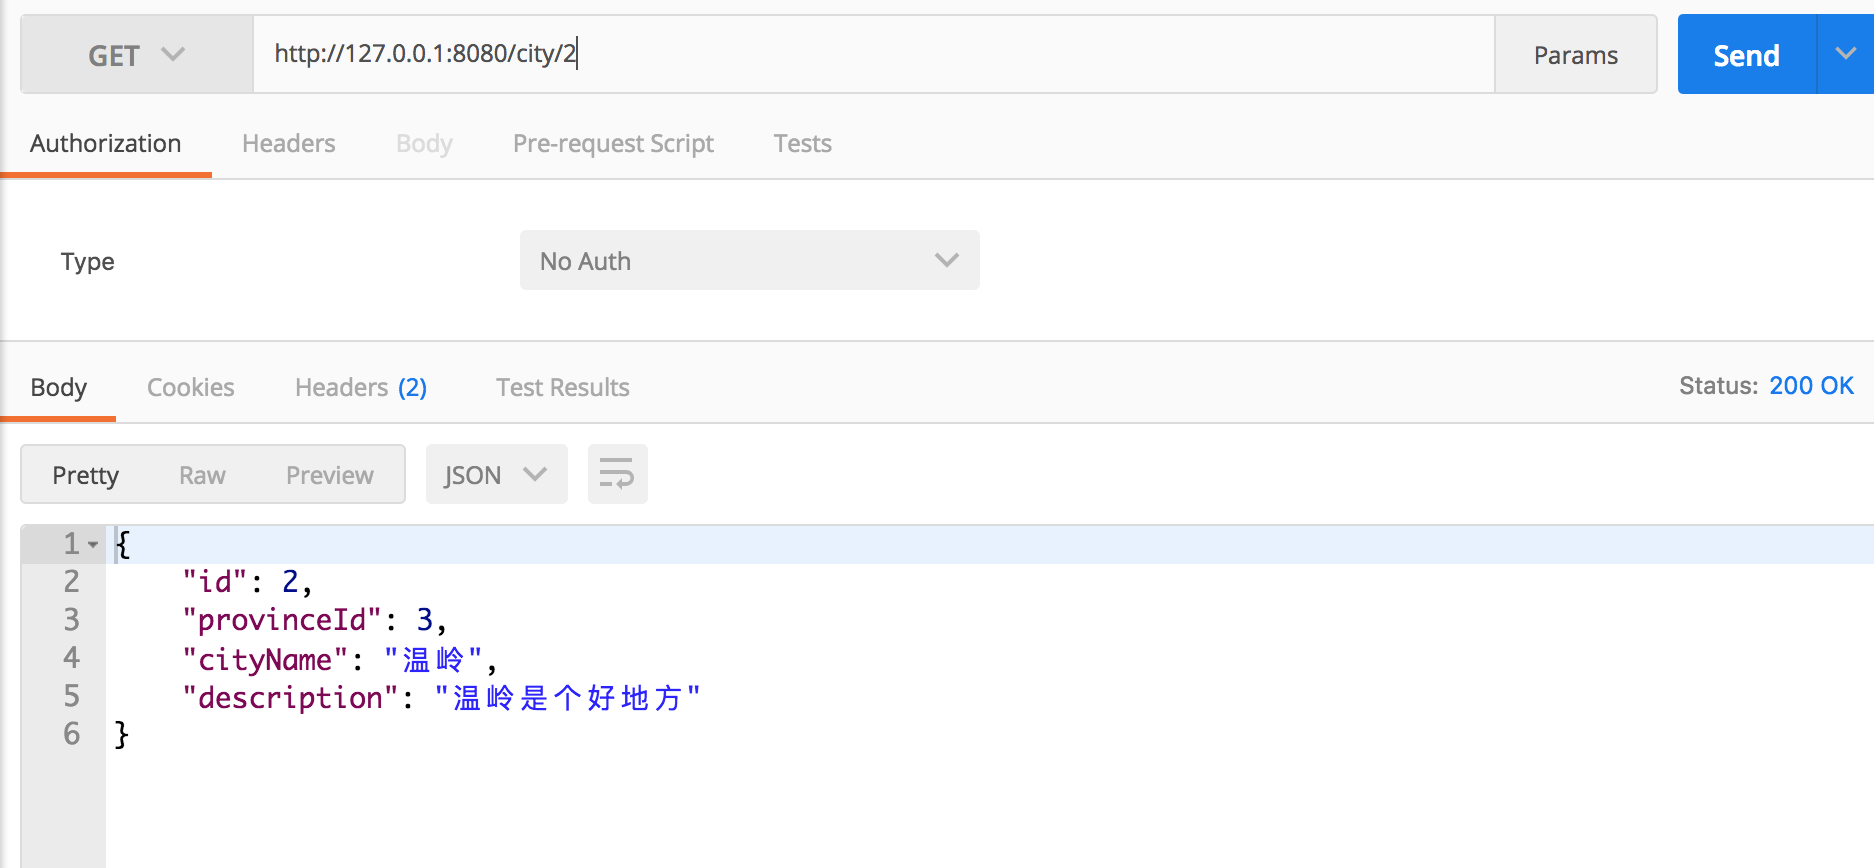
如果等待 60s 以后,再次则会获取为空。因为保存的时候设置了失效时间是 60 s。
这里,探讨了 Spring WebFlux 的如何整合 Redis。介绍了如何通过 RedisTemplate 去操作 Redis。因为 Redis 在获取资源性能极佳,常用 Redis 作为缓存存储对象。下面我们利用 Reids 实现缓存操作。
原文来自:https://www.bysocket.com/springboot/2394.html
本文地址:https://www.linuxprobe.com/redis-spring-boot.html编辑:向云艳,审核员:逄增宝
Linux命令大全:https://www.linuxcool.com/
Linux系统大全:https://www.linuxdown.com/
红帽认证RHCE考试心得:https://www.rhce.net/